Radius Punch
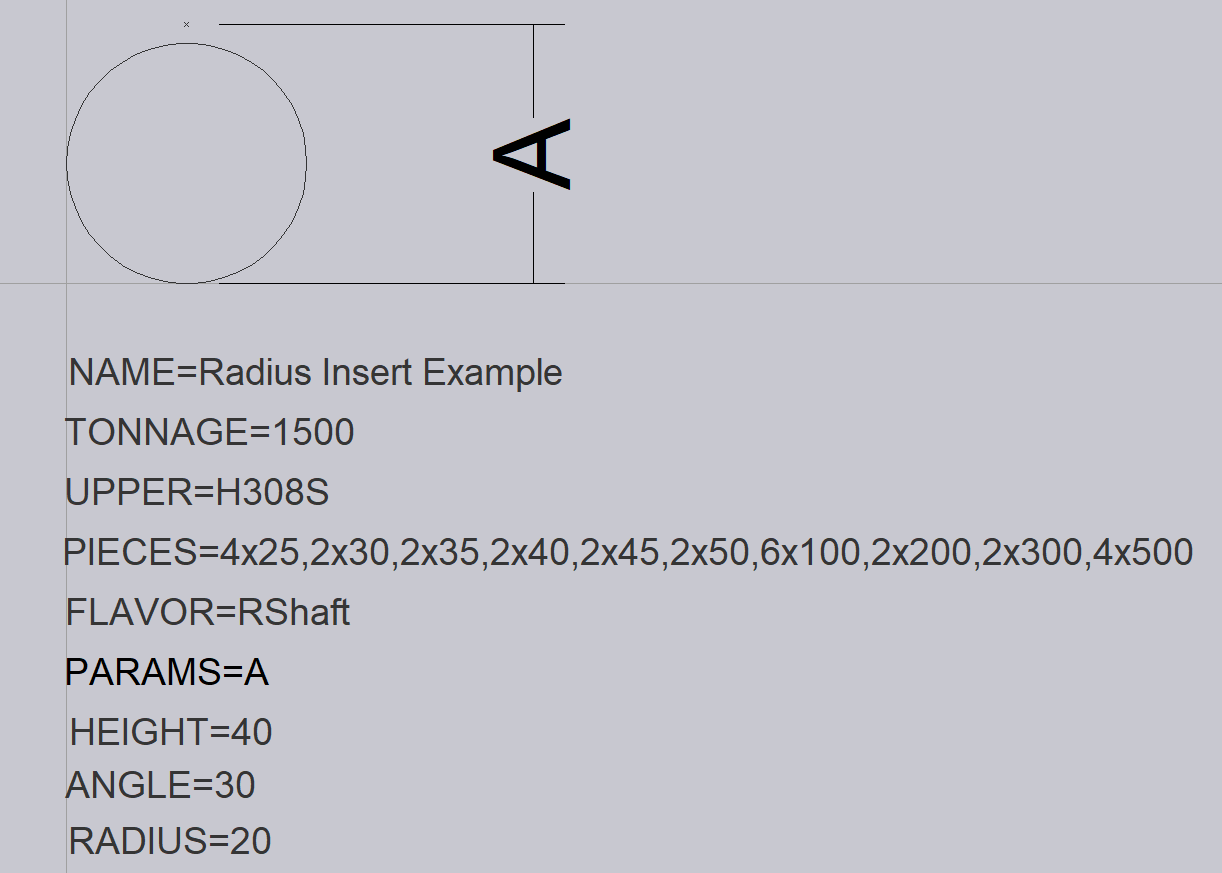
Below, we can see a sample Radius punch DXF drawing. An origin reference point will need to be placed at the mounting point on the side profile of the tool. The tool should be drawn so that the reference point is where the tip of the inverted V of the holder is.

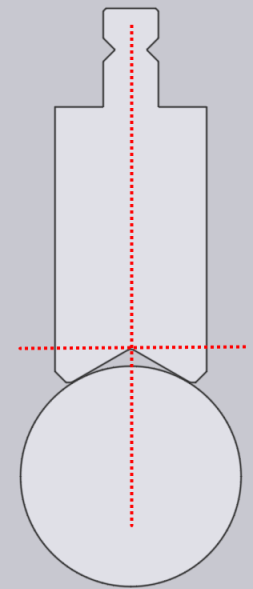
Draw the radius insert with the relevant holder as it is mounted in the machine as shown below.

Remove the holder pline and save the radius insert dxf. Only the POINT entity at the tip of the inverted V of the holder and the insert pline, a little down from the POINT will be the profile dxf for this insert.
The following text entities are required for a Radius punch:
NAME – This is the name given for the tool.
TONNAGE – This is the tonnage of the tool in kN.
UPPER – This is the upper punch valency of the tool.
PIECES – These are the required tool lengths. These are separated by a comma, and if more than one is required, we can use a multiplier to specify the value required.
FLAVOR=RShaft – This marks the tool as a radius shaft.
PARAMS=80 – This is the height of the tool to be output into NC Code, measured from the bottom of the tool to the mounting point (shown as A in the image).
HEIGHT=40 – This is the overall height of the tool.
ANGLE=30 – This is the angle of the V for the holder.
RADIUS=20 – This is the radius of the tool.

