Inserting a Shape
Use the Sys > Shape option to insert a simple geometric shape into the report.
Click on the shape to bring up the Shape editor dialogue.
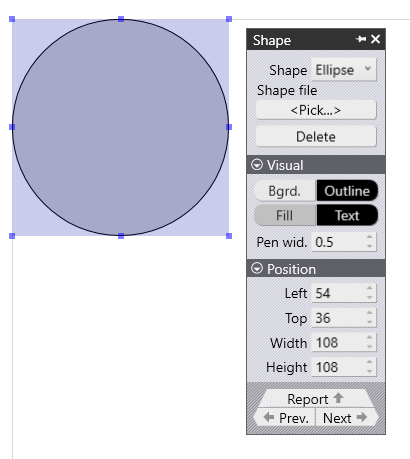
Shape – Use this dropdown to modify the shape that has been inserted.
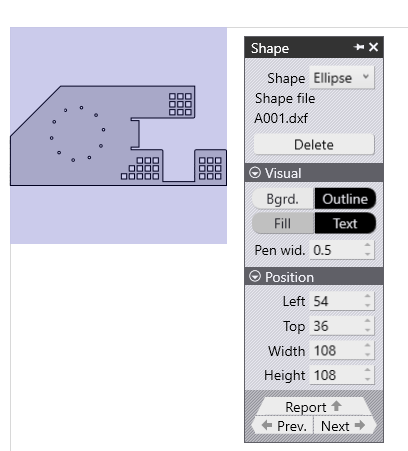
From File – In addition to these simple shapes, you can also insert much more complex shapes by reading them in from a 2D file (like GEO, DXF or DWG). Choose the From File option in the shape, and then pick a 2D drawing file. After the shape is inserted, the DXF/GEO file is no longer needed; the closed outlines from that file are imported in and stored as part of the report template. Such shapes inserted from DXF and bitmaps often serve similar purposes. However, the shapes inserted from a DXF file are vector images and scale very well, even if the report is being printed at high resolution. On the other hand, bitmaps may not scale well to high resolutions.
Delete – This will remove the shape from the report.
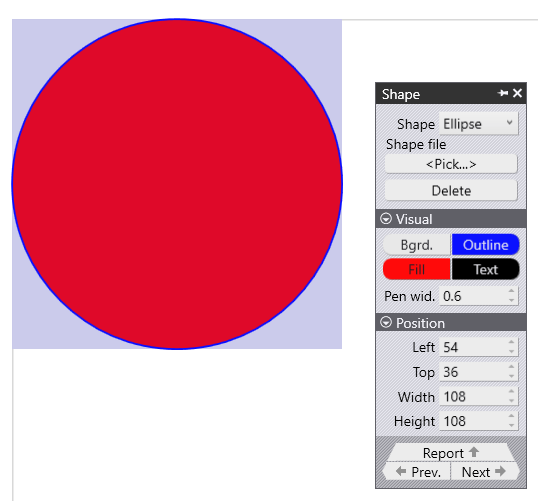
The Visual dropdown allows you to modify the colours of the shape, such as the background and the fill colour.
The Position dropdown allows you to specify the location for the shape, as well as the shape width and height.